Experiencing the Claude MCP Protocol
Claude MCP
Claude MCP (Model Context Protocol) is an open-source protocol developed by Anthropic for their Claude AI model. It aims to establish a unified context for interaction between AI models and development environments. By providing standardized access to contextual information, it enables AI models to better understand and process code. Essentially, Claude MCP acts as a bridge that allows developers to seamlessly connect AI applications with data sources through a common standard.
For detailed information, refer to the official documentation: Model Context Protocol Introduction.
There are several ways to implement MCP, including support for cursor in the latest version. However, for a simple and mature experience with MCP, Claude for Desktop is the most polished application available. In this guide, we will walk through how to use it to experience the power of MCP firsthand.
Experinece the MCP on Windows
0. Create a Claude Account
One of the most challenging aspects of using Claude is creating an account, as it requires phone number verification. To bypass this, you can use a virtual phone number service or explore other methods to obtain a foreign phone number for verification.
Now, get started using pre-built servers in Claude for Desktop.
1. Download and install Claude for Desktop
Note that Linux is not yet supported for Claude for Desktop.
2. Add the Filesystem MCP Server
To add this filesystem functionality, we will be installing a pre-built Filesystem MCP Server to Claude for Desktop. This is one of dozens of servers created by Anthropic and the community.
You will need Node.json your computer for this to run properly. To verify you have Node installed, open the command line (cmd) and enter node --version. If you get an error saying “command not found” or “node is not recognized”, download Node from nodejs.org.
Get started by opening up the Claude menu on your computer and select File - Setting.
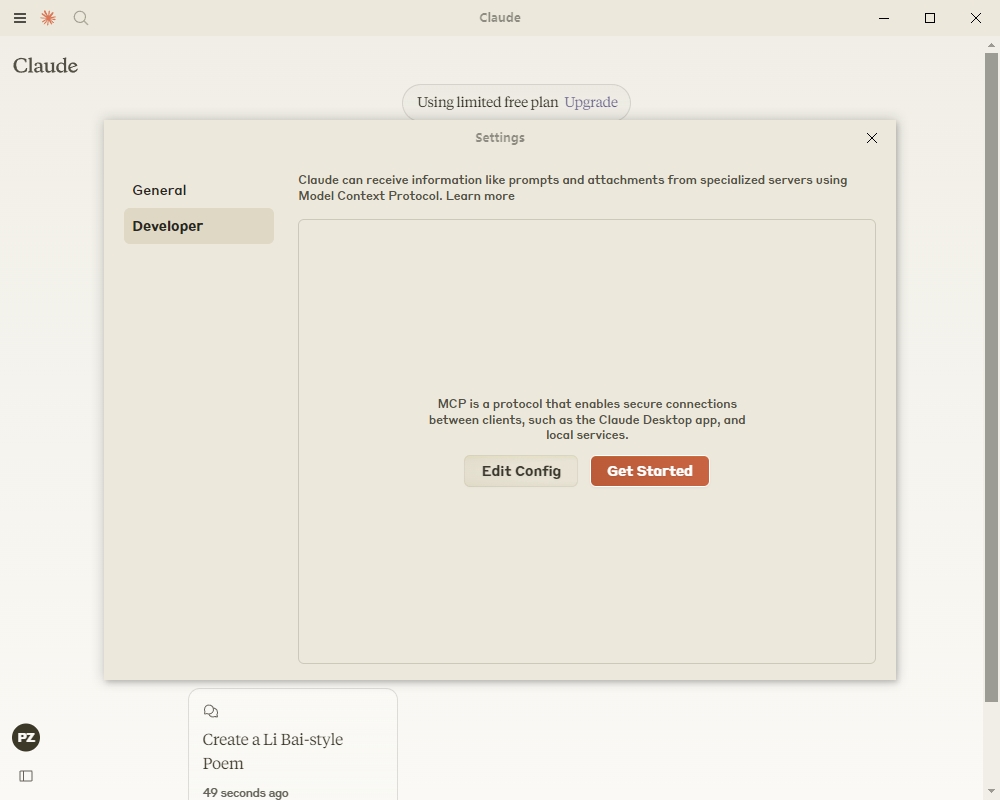
Click on “Developer” in the lefthand bar of the Settings pane, and then click on “Edit Config”: This will create a configuration file at:
- Windows:
%APPDATA%\Claude\claude_desktop_config.json
Open up the configuration file in any text editor. Replace the file contents with this:
{
  "mcpServers": {
    "filesystem": {
      "command": "npx",
      "args": [
        "-y",
        "@modelcontextprotocol/server-filesystem",
        "C:\\Users\\username\\Desktop",
        "C:\\Users\\username\\Downloads"
      ]
    }
  }
}
Make sure to replace username with your computer’s username. The paths should point to valid directories that you want Claude to be able to access and modify. It’s set up to work for Desktop and Downloads, but you can add more paths as well.
3. Restart Claude
After updating your configuration file, you need to restart Claude for Desktop.
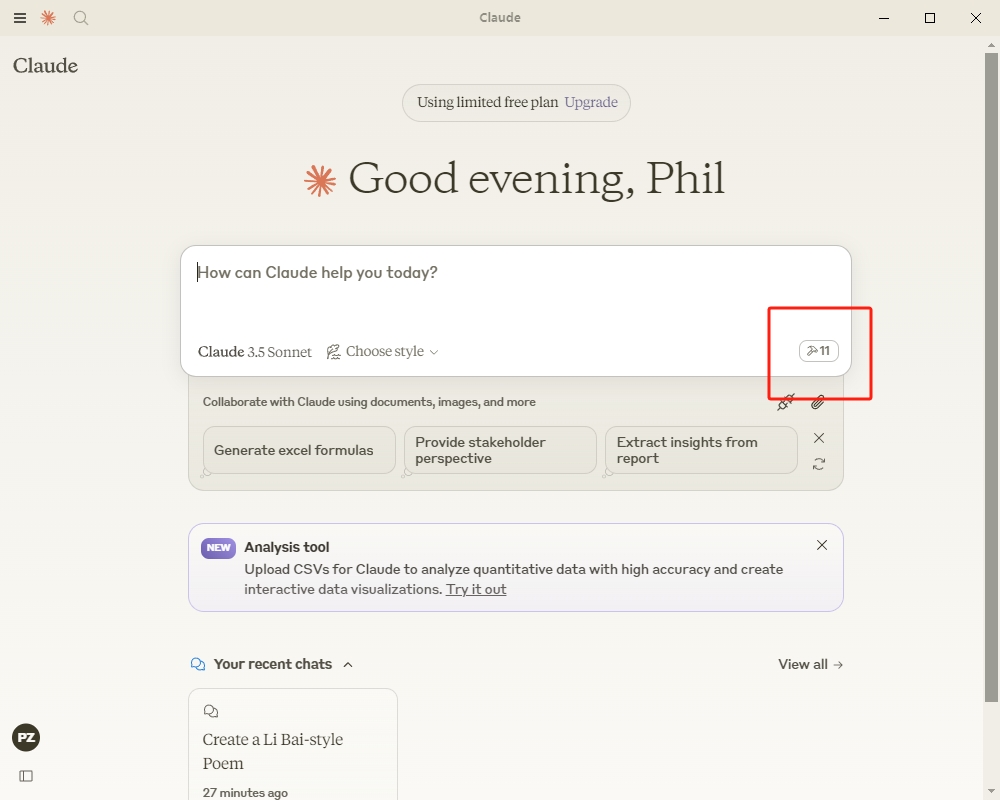
Upon restarting, you should see a hammer icon in the bottom right corner of the input box:
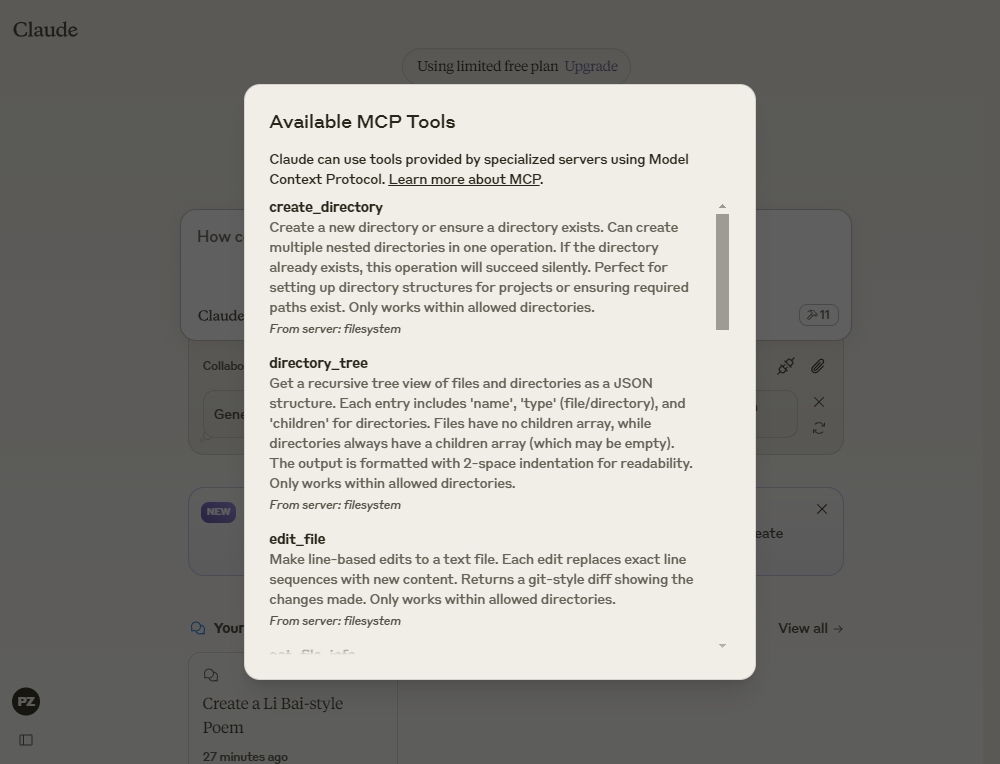
After clicking on the hammer icon, you should see the tools that come with the Filesystem MCP Server:
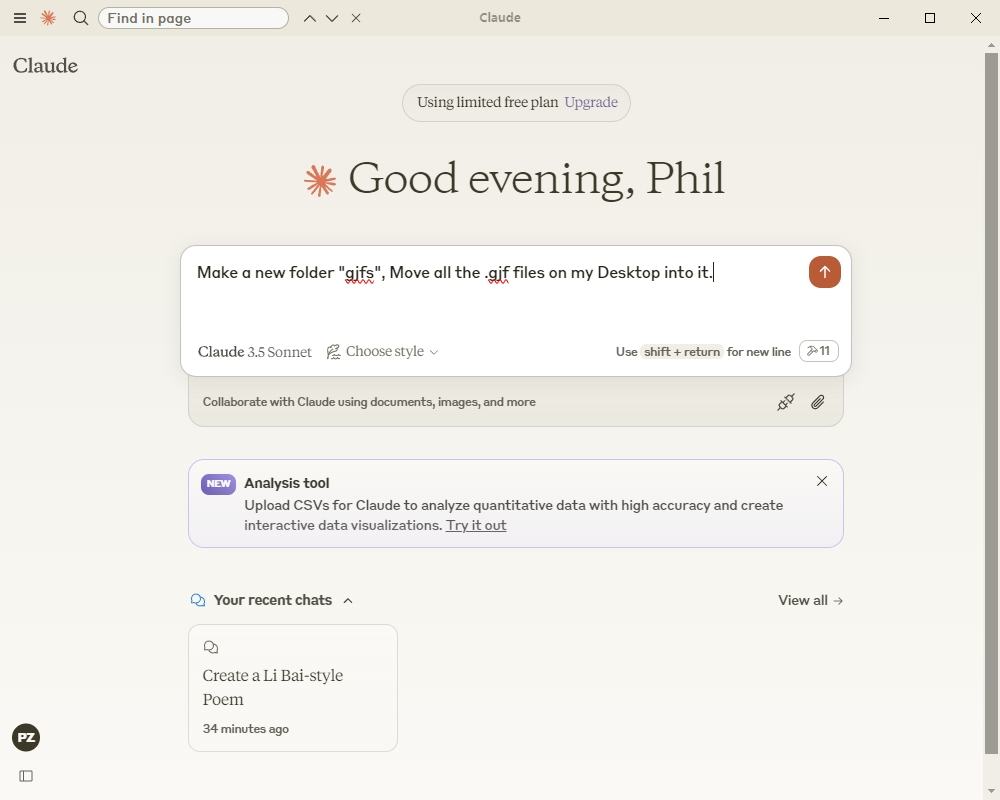
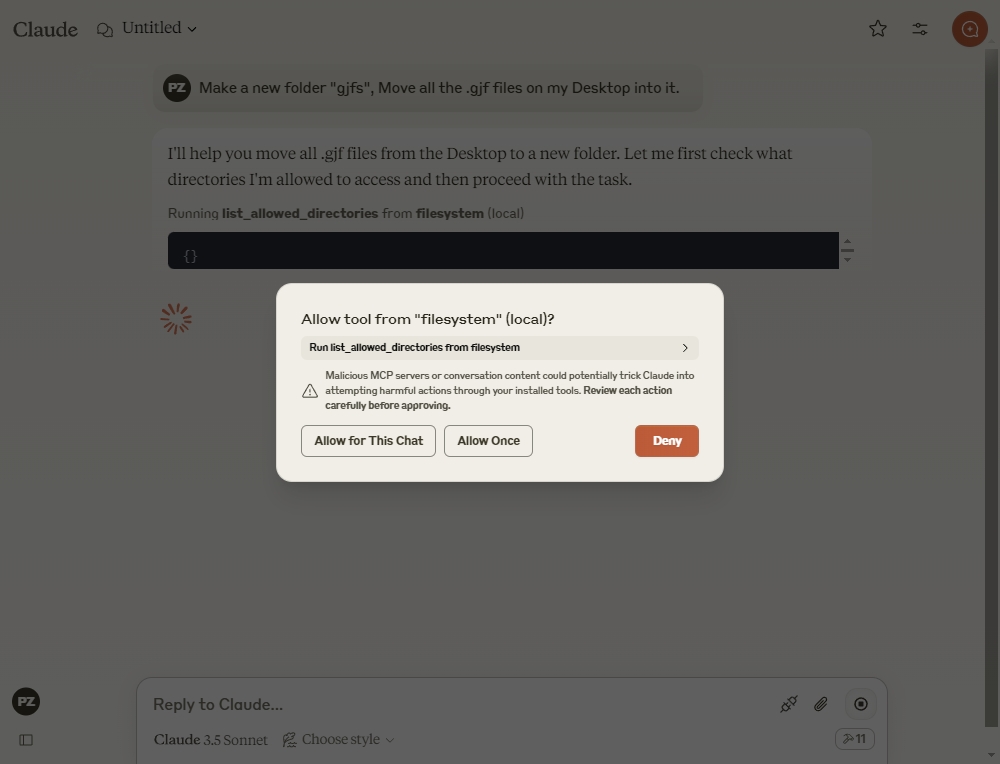
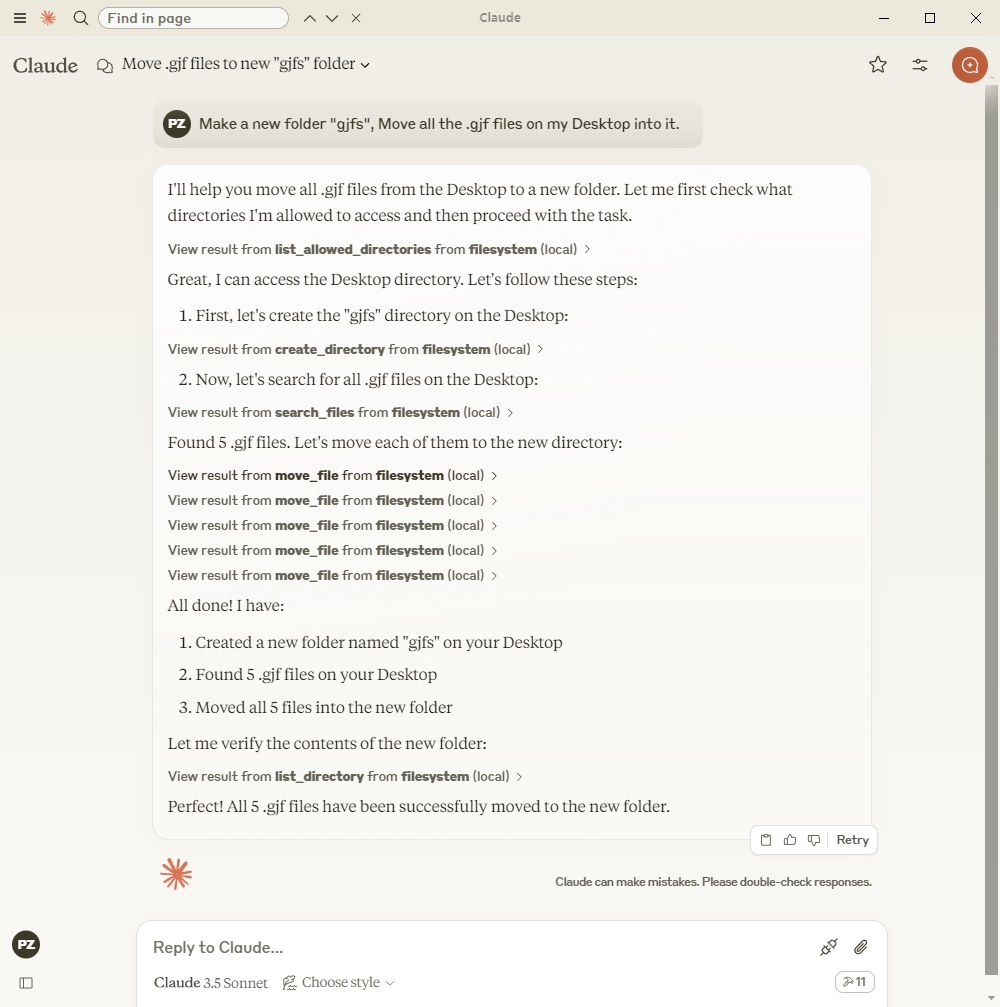
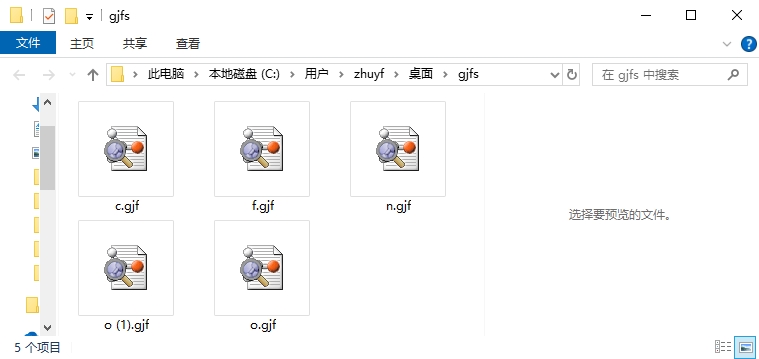
4. Try it out!
Things you might try asking Claude:
- Can you write a poem and save it to my desktop?
- What are some work-related files in my downloads folder?
- Can you take all the images on my desktop and move them to a new folder called “Images”?
e.g.: